Showing posts with label wood. Show all posts

Thursday, March 3, 2016

March is Craft Month

(Not just crochet, but crochet is of course my favorite craft!)


Here are a few examples:


This is a photo of a shadow box in progress, I haven't posted it yet but it is finished.


Fabric lined tray.


Soap pump made from a caning jar.


Wooden bookshelf Bill made for the library books which always need a place to park.


Otter made this cat ears headband for one of her early cosplay attempts.


Fabric covered bulletin boad.


Fabric covered mouse pad.

All of these with the exception of the shadow box have either been on this blog or on the main blog.

Get crafting!

Monday, June 29, 2015

Painted Wood Wooden Fabric Back Tray

I originally bought an unpainted wooden tray with the idea of turning it into a clock.  But I decided to go a different direction with the clock idea and I was left with the tray.  I've made this type of project before and I wanted another one.  It's easy.

Supplies needed:

Unpainted wooden tray, size and shape are up to you!  They can be purchased at just about any hobby store and aren't too expensive. 
Craft paint.  I use white or beige as a base coat, then 2 or 3 coats of the color I like.
Clear varnish
Modge Podge glue
Fabric for the inside back of the tray

The tray may need light sanding.  The next thing is to paint with the base coat, then let it dry completely.  Sometimes it might need more than one coat of the base, and I don't usually have to sand between coats.

I painted just on the inside of the inside tray back because I wanted to make sure that if the fabric wasn't quite big enough the base coat wouldn't show in the gap.


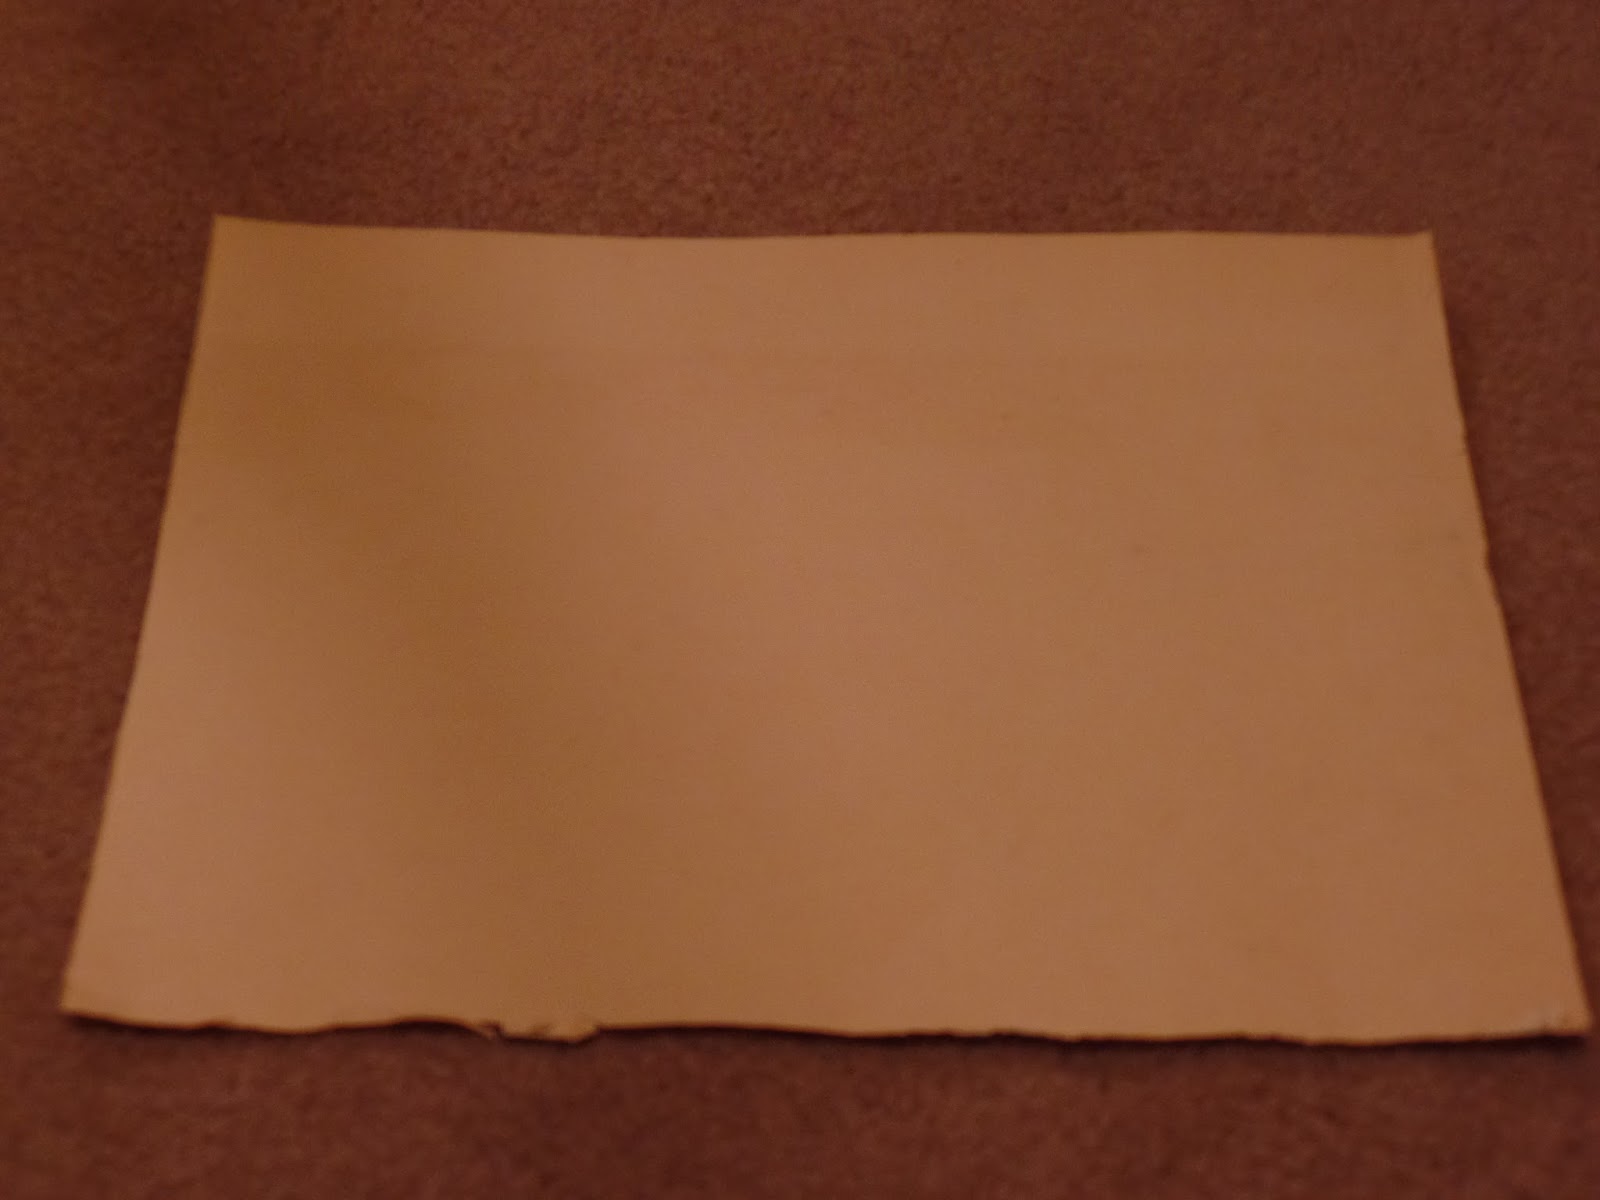
Measure the inside back of the tray for the fabric.  Measure carefully and probably more than once!  I used a thin poster board that is slightly heavier than a manila folder.


 You want to get the edges as straight as possible.  After it's cut, I usually put it in the tray to be sure it fits.


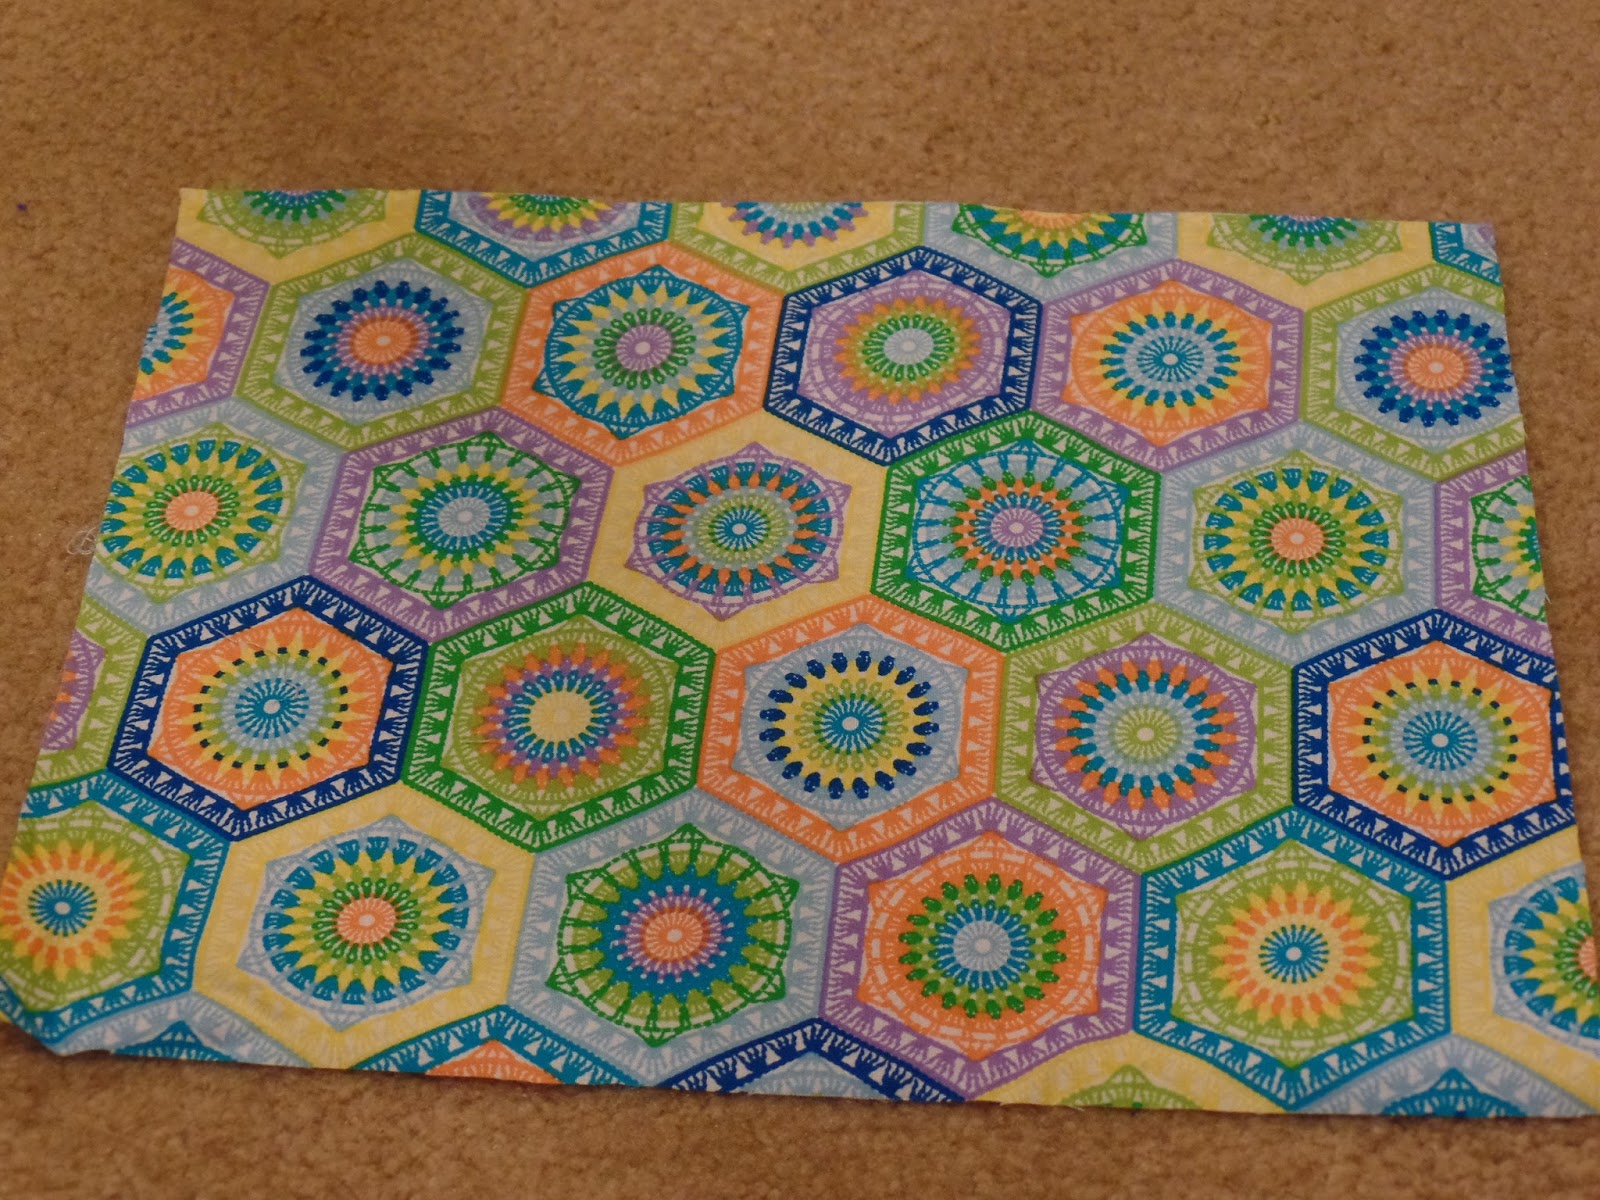
 The next step is to cut the fabric.  I found some really neat crochet-pattern material, the name is actually Crochet and I bought 3 yards of it.  No idea what else I'm going to use it for, but it's like yarn:  buy more than you need so you don't run out!  Also, I didn't wash it before use because I didn't want it to be too soft.  It needs to be crisp.  If you are using fabric that has been washed, it will need a good ironing.  I prefer to use 100% cotton.


Next step is to be sure the tray back is dry and dust-free.  Then you can apply the Modge-Podge.  You could probably use another type of glue, but this one works very good.  It dries fast and holds well.  But, because it does dry quickly you need to work fairly fast on this step.  I use a foam brush, it spreads the glue the best.  The brush is not really reusable after being used with glue, but if you use a regular brush it will need to be cleaned pretty quick.


After the glue is down, the fabric needs to be placed carefully.  It won't really slide if it needs to be moved, but you can grab it at the corners (tweezers work well for this) if it needs to be re ositioned.  I usually start at the "top" - the side furthest from me and work my way down.  Once the fabric is in place, you will need to (gently!) smooth any bumps or bubbles out because they will be permanent if you don't!  Not a heavy touch, but fairly firm.  I usually use my fingers for this but you can use a rubber scraper if you want to - just don't push too hard because the fabric may stretch out a bit.


The next step is to trim any edges, strings, etc. that don't fit or are sticking up too far on the sides.  I used a box cutter but I really should have used an x-acto knife because they are a lot sharper.  Be very careful, you don't want to cut yourself!  I did go find an x-acto knife after a while, but I should have started with one.  This needs to be done pretty soon after placing the fabric and you will also have to try hard not to stretch or move the fabric.  The corners and edges of the fabrics may need to be pushed down gently to be sure they stick.


This is the debris pile after I trimmed the edges.  Normally, things like this get put into my pile to put out for birds to use in the spring for nesting but these get thrown out because they have the glue on them.


The next step is to apply the varnish, I didn't get any pictures of it but it's basically just using a good-quality paint brush and the varnish of your choice.  It may take several coats.  Also, sometimes the fabric is not going to be smooth to the touch.  It depends on how much of the glue as been absorbed, as well as the texture of the tray itself.  But the fabric will need to be varnished as well.

The finished tray:


It's not food safe, but I use trays like this to hold condiments in the middle of my table.  It can be used as wall decor or to hold whatever you feel like.

Wednesday, July 6, 2011

Bill's Latest Woodwork Project Desk Refinishing

A while back, Bill decided he needed a smaller desk in our office.  He has a modular unit that works, but it's huge.  I had a smaller desk which became Otter's a couple of years ago, and we bought me another desk at an auction.  The one I have is bigger than hers but smaller than the unit Bill uses.  My desk will fit his needs perfectly, as well as the space.  So we started looking for a new desk for me.  A neighbor was moving "back home to Texas" where the winter is "normal" and she had a desk a lot like Otter's for $10.00.  It came home with us.  In the trunk of the Impala!  Fortunately, she was just around the corner so we didn't have to go far.

Bill stripped the varnish off and made a couple of minor repairs.  Then he hit it with varnish and 3 coats of clear polyurethane.


All the pictures are in the living room, which is as far as Bill brought it the other day.  It's still there.  It will be for a few more days, he's going to see about taking his modular unit apart on Sunday and then moving my old desk over.  Then, the new desk will be moved into my spot.

Visible at the bottom of the picture is one of the dog toys.  Maggie had been playing tug, but she got tired and left the toy there.  Behind the desk is the ever-expanding Fenton collection and some dvds.  The desk is the object of the pictures!


There are some variations in the wood but it looks really good.


A close-up of the drawers.  Ignore the plastic wrapped doll house behind the desk.  The dollhouse is a future project, it's going to be redone and then stored correctly for Otter.  It was our project for vacation week, but the heat changed our plans.

Sunday, September 26, 2010

Wooden Book Shelf


Someone gave Bill a bunch of scrap wood.  It's actually in pretty good shape, most of it is usable.  He had to take nails out of a few boards, but that was about it.


It's no secret that Otter and I practically live at the library.  We usually have more books than we can carry.  That's not the problem.  The problem is where do we put them when we get them home?  And, how do we keep them straight in terms of due dates?

I decided we needed a small bookshelf.  I looked at a couple of thrift stores with no luck.  Then Bill brought home all this wood and decided he wanted to make one for us.

Here is the construction, more or less in order!  Any captions will be beneath the pictures they are describing.


Nailed and glued together, wood filler on the few spots that needed it.  There weren't too many places that needed filling in, mostly just to cover the nails and just a couple of minor spots.

One of his many toys - in this case it was holding the backing on while the glue dried because Bill was afraid it would bend.  The backing is a piece of paneling he's had forever and never had a use for.  Until now!

First coat of stain.


2nd coat of stain.


Close-up of the shelf, with the 2nd coat of stain.

The side, witht he 2nd and final coat of stain.  And a lot of other junk!


The finished product!  I can't remember, but I think it's around 26" tall.  The books are usually stacked on it "the right way" - backs out and not piled.  At the moment, mine are on the top shelf and Otter's books are on the bottom.  But we usually read each other's books, so they don't stay that way.  It's working out great, it's just the right size and we have figured out a system to keep newer books from getting mixed up with older books - we usually have a lot of late fines!

It only took Bill a couple of days to build this, the staining process probably took longer than the actual construction.

Tuesday, March 23, 2010

Bill's Woodwork

Bill is pretty handy, although we get nervous when he's around power tools. For a good reason!

Anyway, these are a couple of examples of things he's made.

This is not the best picture, the camera was going out when I took this and this was the best one I could get. The shelf is the object of the picture, not my Fenton pieces. Bill has a bunch of scrap wood, various sizes & shapes. He made me a shelf that is hanging over the stove, and he made this one for me last year for the Fenton. It's actually a sort of sage green color.



Bill collects shot glasses. He's not a big drinker, but he likes shot glasses. We refer to his collection as the Useless Collection. He is always in need of display places for the glasses, so he used some more of that scrap wood and came up with this. It's hanging over the window in the office, so you can ignore the green curtains underneath the shelf! He's got many, many more shot glasses with no place to put them so he's considering making a shelf that goes all the way around the office, or possibly on two of the walls. It might be like this shelf, or it might be totally different.

Bill creates the pattern for the shape, style & size and then he gets to put his Engineering skills to use. He's been building a frame for the pachinko machines, when it's at a further stage I'll take pictures.

And hopefully, he won't have any injuries. :)