Showing posts with label wreath. Show all posts

Saturday, April 23, 2016

Spring Yarn Wreath Butterfly Butterflies Felt Flower Flowers

Major tendonitis issues at the moment in my right arm, so crochet is temporary not happening.

But I still find things to do!

This is the 2nd yarn wreath I've made.

I started with a styrofoam wreath.


I wrapped it with yarn.  I put a piece of double sided tape on the back of the wreath and that holds the yarn end in place for the first few wrap rounds.  As the yarn is wrapped, it has to be pulled tight periodically and also slipped down against the yarn that is already wrapped.  It needs to be snug so that there are no open spots where the wreath form shows through.


I decided to use felt for the decoration on this wreath.  Because I wanted flowers and a spring feel, I used several different colors.  I did not use all the colors that I bought, my flowers were originally going to be different and have leaves but I changed my mind on that.  I'm sure I'll find a use for it later on!


Probably any glue will work but I bought actual felt glue.


I found a stencil that had a flower shape I liked.


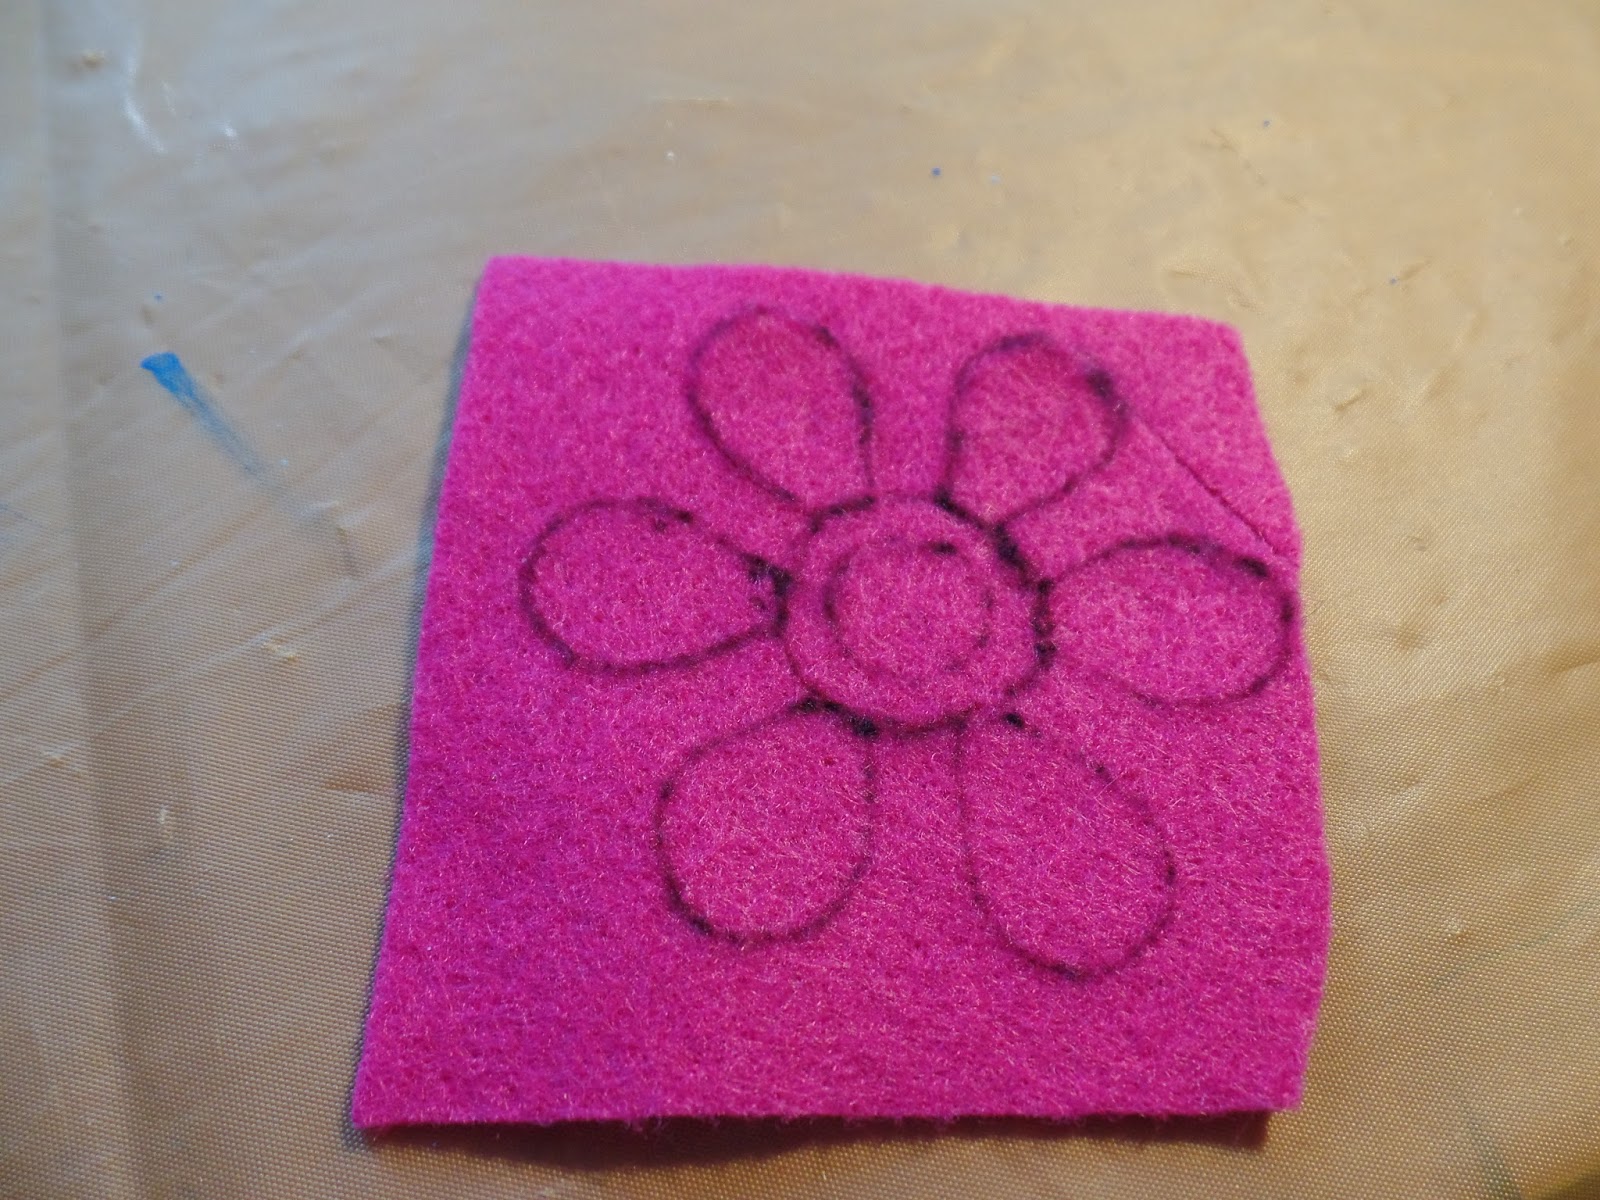
Because I wanted to use the shape as a pattern, I drew the petals and then I also drew the interior circle so that it would be one piece and also the inner circle so I would have a reference point for the hot glue later on.


Trim carefully and use sharp scissors!


I flipped it over because I did not want the lines to show!


I used three different sizes from the stencil.


I staggered the pieces largest to small and made sure that the edges were not even.  Then I used the felt glue to stick the layers together.


I also cut small circles out of yellow felt for the centers of my flowers.


I was originally going to make felt butterflies but I decided to go with feather butterflies instead.  They had wire sticks on the bottom but I pulled the wires out.


The next step was to get out the glue gun!

I placed the flowers on the wreath first and rearranged them until they were where I wanted them.


I glued each one on, one at a time and did not move the rest of them while I was gluing so that they would go on where I wanted them to.  Also, you could take a picture (cell phone or digital camera) to refer to while gluing.  The glue went on the back of the flowers in the center - which is where the center outlines were.


After the flowers were glued, I used the same process with the butterflies.


Sometimes butterflies are solitary bugs but my butterflies were a flock!
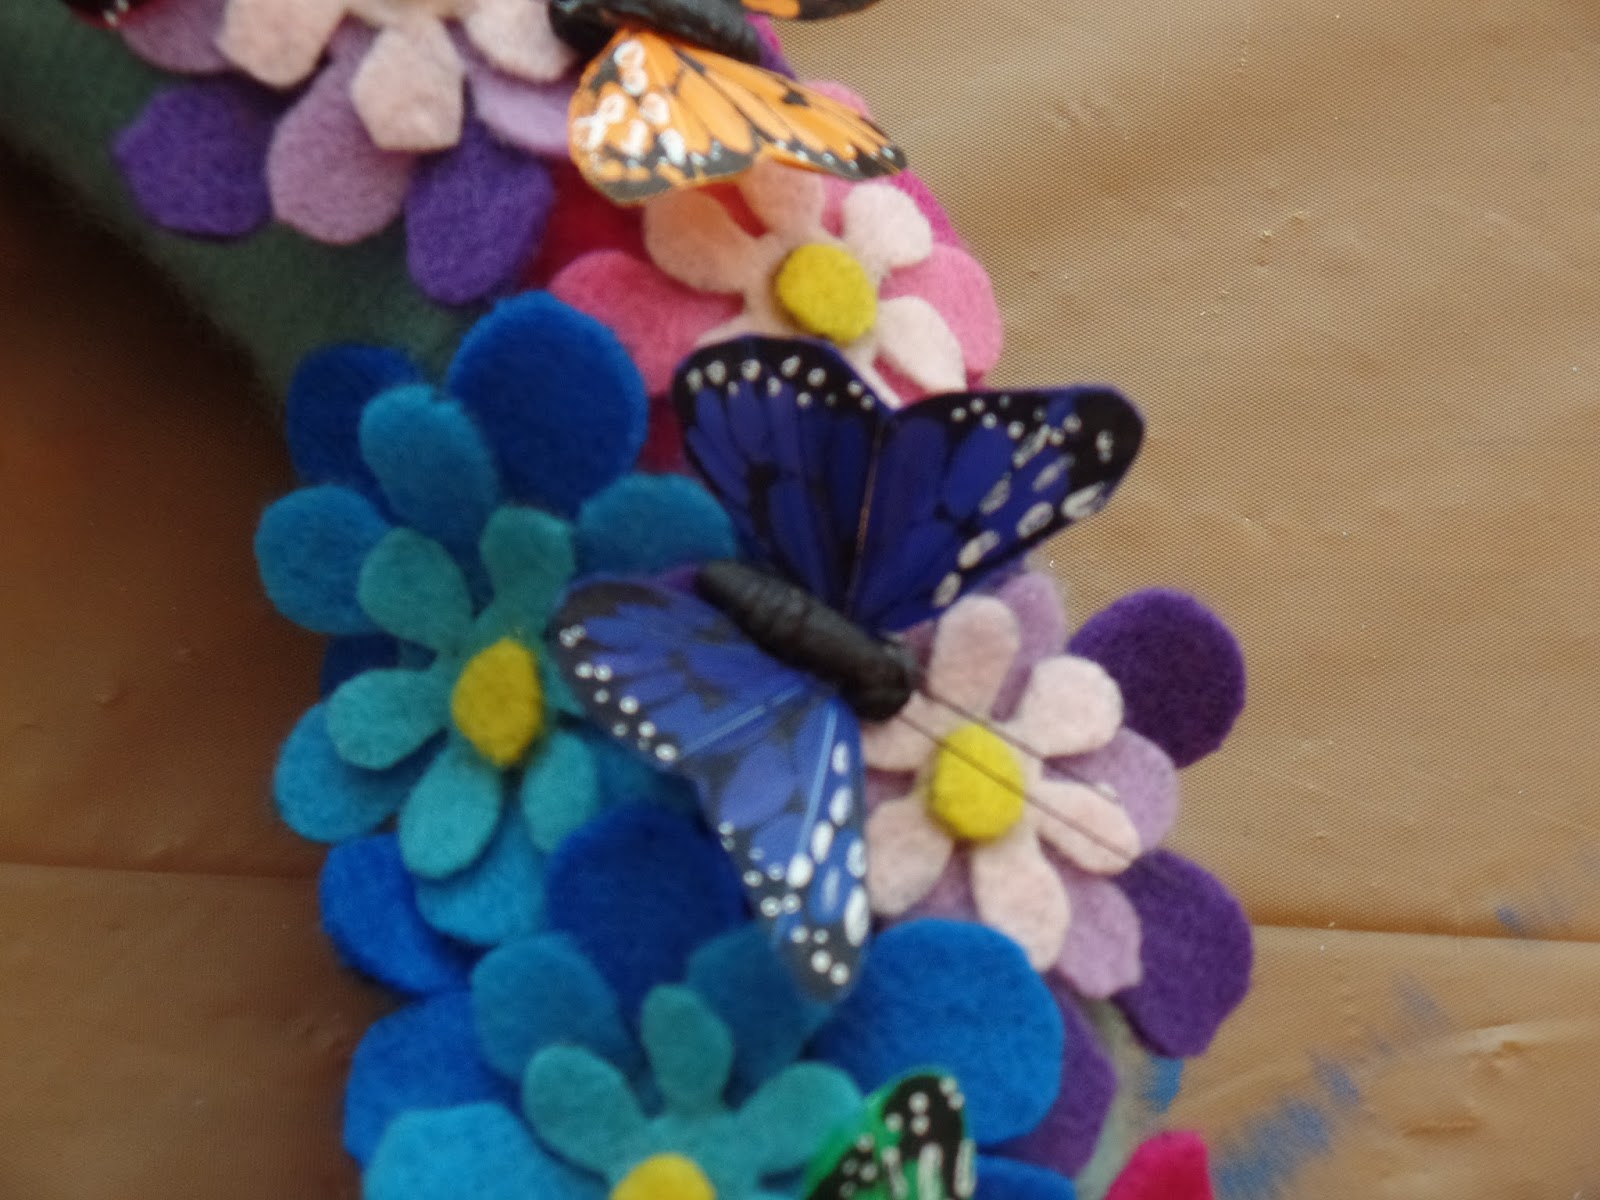

I may decide to get a ribbon in a green color similar to the yarn and attach it at the back with the glue gun as a hanger, but for the moment it's done!


Monday, February 16, 2015

Yarn Wreath

I've seen yarn wreaths for a while and really liked them.  But, being crafty myself, I knew I'd rather make one than buy one already made.  That happens a lot!

Anyway, here's one of my latest craft projects:


This is not the actual wreath form, I used a white styrofoam one but I didn't get a picture of it.  This one is for another project, but it's the same type.


I thought it would be easier to use these and wrap yarn around them than to make actual yarn balls.  Also, it would use less yarn and I could control the size of the yarn balls easier.  I didn't want them to all be the same size or color.


The yarn balls are easy to make, I wrapped the yarn around them and then I used a yarn needle to run the yarn end back into the ball or stuck the end underneath the wrapped yarn.


To wrap the wreath, I took a small piece of double-sided tape and attached it to the wreath form.  Then I started the yarn wrap on the tape which also kept the yarn in place.  When I decided that the yarn color was wide enough, I did the same thing with the tape and that also held the next color in place.  I made the yarn sections different sizes.  The final section was a little bit trickier, when the yarn was fully wrapped I gently pushed the strands aside enough to stick the yarn to the original piece of tape.  During the wrapping process, I stopped frequently and pushed the wrapped sections together as it was hard to keep the yarn close enough so that none of the wreath showed through.  It had to be held fairly tightly during the wrapping process.  The particular yarn I used on the wreath is rug yarn and it is rougher to the touch than regular yarn.  You could use regular yarn, I just had some rug yarn on hand that I wasn't going to use to crochet with so I used it.


Because my wreath was intended to be a Crochet theme, I found a couple of plastic hooks that I wasn't going to use.


I used the glue gun to attach the pieces to the wreath.  It seems to last better than other types of glue for this type of project.  Also, hot glue doesn't have an odor.


I glued each yarn ball on, I used quite a bit of hot glue, I also held the wreath up during this process and held each yarn ball on until the glue was dry and cool.  For things like this, things need to be held on with some force until the glue dries/cools or they will not stay on.  After the glue was cool, some of them needed a little more glue to hold them in place.


I added extra glue from the back of the wreath.  Also visible is one of the yarn ends and it may be the final section judging by the way the yarn looks.


When I had a few balls in place, I put more glue in between two of them and inserted the crochet hooks.  Hot glue does cool quickly, but I had enough time to put the hooks in place and get them where I wanted them.  They also had to be held in place until the glue cooled enough to hold them.  If you use something like crochet hooks, make sure you insert the plain end and that the hook end is on the top!

After the hooks were in place and I was confident that they would stay, I glued the rest of the yarn balls on.


The completed wreath!

It's on the door to my craft room, I put two nails in the door near the top but slightly on each side of center to hold it in place evenly because the weight of the attached items kept shifting it.

It turned out well and I can see a lot of other ways to make wreaths with yarn or ribbon, and any individual items you like can be used to personalize it.

Working with glue or any type of paint or liquid, I always work on a covered surface.  The desk I use for my crafting is a regular desk and it's covered with plastic.  I bought a plastic table cloth at the dollar store and cut it in half.  It works great for what I need and it can be replaced fairly easily and cheaply.

Also, when using hot glue - keep in mind that it is named HOT for a reason!