Monday, May 16, 2011

**(EDITED)** Mason or Canning Jar Soap Pump


Bill got to help with this one!  Mostly because he said I would hurt myself with the drill press - keep in mind that he's the one who had to get his thumb stitched up a couple of years back because of the drill press!

This was a fun project.  It was fairly easy and cost effective (also known as cheap!).  I had the jars & lids already, the only thing I actually had to buy was the pump mechanism.  I got it at the dollar store, as part of a bottle of anti-bacterial hand cleaner.  The hand cleaner got poured into a big bottle I have of the stuff, the empty bottle was recycled and the pump part was re-used.


The easiest way to find the center of a circle is to trace & cut out a piece of paper. 


Fold it in half, then in half again which is 4ths, the center point should be the center of the circle.  I marked it with a sharpie marker.


Then Bill drilled the center hole, after first marking it with a nail because he thought he needed to in order to be able to see the center when he attached it to the drill press.


The finished lid.  It had to be smoothed off at this point, there were a few sharp points on the cut edges.  Also, the size of the hole needs to be the same size as the largest part of the pump that will be under the lid.  It needs to be as close to the same size as possible, in order to have a good seal.


I used a mason jar that I had on hand.


Bill had some JB Weld brand epoxy that he had, being an engineer means that you generally have every tool known to man and frequently in multiple quantities.  The pump needs to fit snug on the lid, and it needs to be attached so it won't come off.  He held the piece upside down after putting it through the hole, then he coated both the lid and the pump piece with the JB Weld.  It had to be held upside down for about 24 hours to cure, so it was hanging from my plant stand and attached with clothes pins.  After it was dry, I held it up to the jar, marked with a sharpie where I thought the bottom of the jar would be and cut just above it.  Which was actually a touch long, so I had to cut off another small piece.  It's cut at a slight angle.  It needs to be just above the bottom of the jar but not actually touching the bottom.  (Bill said that JB Weld is about the only thing out there that will stick to both plastic and metal.)


The pump tube is just barely off the bottom of the jar.


Filled with dish soap, the entire lid is on and it's now at my kitchen sink!

Even if I'd had to go buy the jar & lid, it would have been a fairly inexpensive project to make.  Vintage jars would be fun, also.

**EDIT**:  I strongly suggest that you coat the metal pieces with a shellac or laquer, a varnish might work as well.  This needs to be done on the inside parts of the ring as well as the inner, flat part of the lid.  The reason for this is because the metal will rust.  I didn't do this with mine, and it eventually rusted to the point where I had to throw the metal pieces out and make a new one.  You don't want to use anything too thick, or it will possibly keep the ring from fitting on to the screw threads on the jar.

Thursday, March 10, 2011

March is International Crochet Month

So, go get your hooks and get busy!

Tuesday, March 8, 2011

Otter's 13 Year Quilt

So named because it took me about that long to make it!

It's slightly larger than her double bed.  The backing isn't in any of these pictures, but it's a solid dark blue.  Somewhere between navy blue and cobalt.


Some of the fabric is from specific things, like the carousel horse curtains that Grammy (my Mom) made for Otter's room when she was a baby.  There are also some pieces that are from flour sacks, which has to do with my previous employment.  Some of it is excess from Christmas ornaments with Otter's picture that we made for grandparents a few years.  And some of it is just fabric that we liked, or Otter picked out.


The starry fabric was a cover for the small table that held Otter's pet mice.  To the right is a floral print, that's one of those flour sacks.  To the left is part of the carousel horse fabric.


The cow print might be left over for something we made for Froggy when her kitchen was black & white cow decor, but I'm not positive.  The blue is just a color that Otter liked, the blue background with a pattern was left from the beanie baby holders that were on Otter's wall when she had a million beanie babies.  I think that the floral pattern next to the butterfly pattern might have been something of Grammy's.


The yarn is one of my favorites, it's called Mexicana and is a very bright multi-color variegated yarn.

Otter reports that the quilt is very warm.

Sunday, January 23, 2011

Crochet Granny Square Blanket

I've finally finished Bill's blanket!  It was a way to use up spare yarn, and I didn't think I'd be through any time soon.  But I finished a row on it yesterday and decided to put it on the bed to check the size.  Which is when we realized that it's big enough already.  So, I tied off the row and called it done.

Otter took the pictures, the first one doesn't really show the colors right.  I'm not sure what setting she had the camera on.  It does have some yellow, but there are a lot of blues, greens, pinks and reds as well as some browns and a small amount of orange and camo colors.


It's a lot of different colors and many rows consist of multiple color/yarn changes.


This is a close-up of some of the stitches.


And this is the reason we had to hurry and take the picture, which didn't leave Otter enough time to adjust the settings!  Those are my feet in the background, but one beagle foot was already on the edge of the blanket.

It's triple stitch, and 55 rows.  It fits on the top of our king-sized bed and hangs over the side just a bit.  I have no idea how much yarn is in the blanket, but it's literally miles.  I really enjoyed this project.  I think I started it last spring or early summer and it's been added to as I would finish up a project and have a small amount of yarn left.

Wednesday, December 29, 2010

Crocheted Caps or Hats

This is my latest project.  The first one is what Otter gave Bill for Christmas.  It's camo patterned yarn, it's a little lighter than it looks in the picture.  Also, because of the way the two hats are laid out, they don't look like the same shape but they are identical except for color.


I made two for Christmas presents.


This is the second one.  Otter gave it to Sweetie for Christmas.  The yarn is called Candy Corn and it's part of Red Heart's softer yarn series.

They were easy & fun.  They didn't take too long, maybe an hour with interruptions (there are always interruptions!).

I made Bill's over a period of two days, the only time I had to crochet was on two Saturdays.  I had to wait until he was taking a nap.  I got most of his cap done, but then he woke up and I had to quickly hide it.  Then he didn't nap anymore that day, so I thought I could get it done during the week.  Of course, that was a very busy week and it was the next Saturday before I could finish it.  He kept dozing off on the couch, so I thoughtfully suggested that he might want a nap.  As soon as he headed off to bed and I heard him snore, I grabbed the hat, yarn and my hook and finished up.  I had no way of knowing if it would actually fit him, so I stood in front of the bathroom mirror and tried it on myself!

That afternoon, I got Sweetie's cap done.  It was much easier, as I could work on it in front of Bill and it went much quicker.  Imagine that!  I had attempted caps before, but the pattern wasn't very good and I didn't like the way they turned out.  This pattern was excellent.  Bill asked me if I was sure that it would work, since I'd had hat issues before - I told him that I'd already made a hat with this pattern and I knew it would work.  I just didn't tell him that it was his and I'd just finished it!  :)

Since these pictures were taken, I've made myself one with the yarn I called Marble.  Iit matches my scarf, which has already been posted.  Mine is a larger gauge yarn so it's not as many rows, but it is still the same size.  I haven't gotten pictures of it yet.  Also, Otter wants one to match her black & white scarf and I found some black & white variegated yarn to use for it.

They are simple patterns, all double stitch.

Sunday, December 19, 2010

Ripple Afghan Status Report


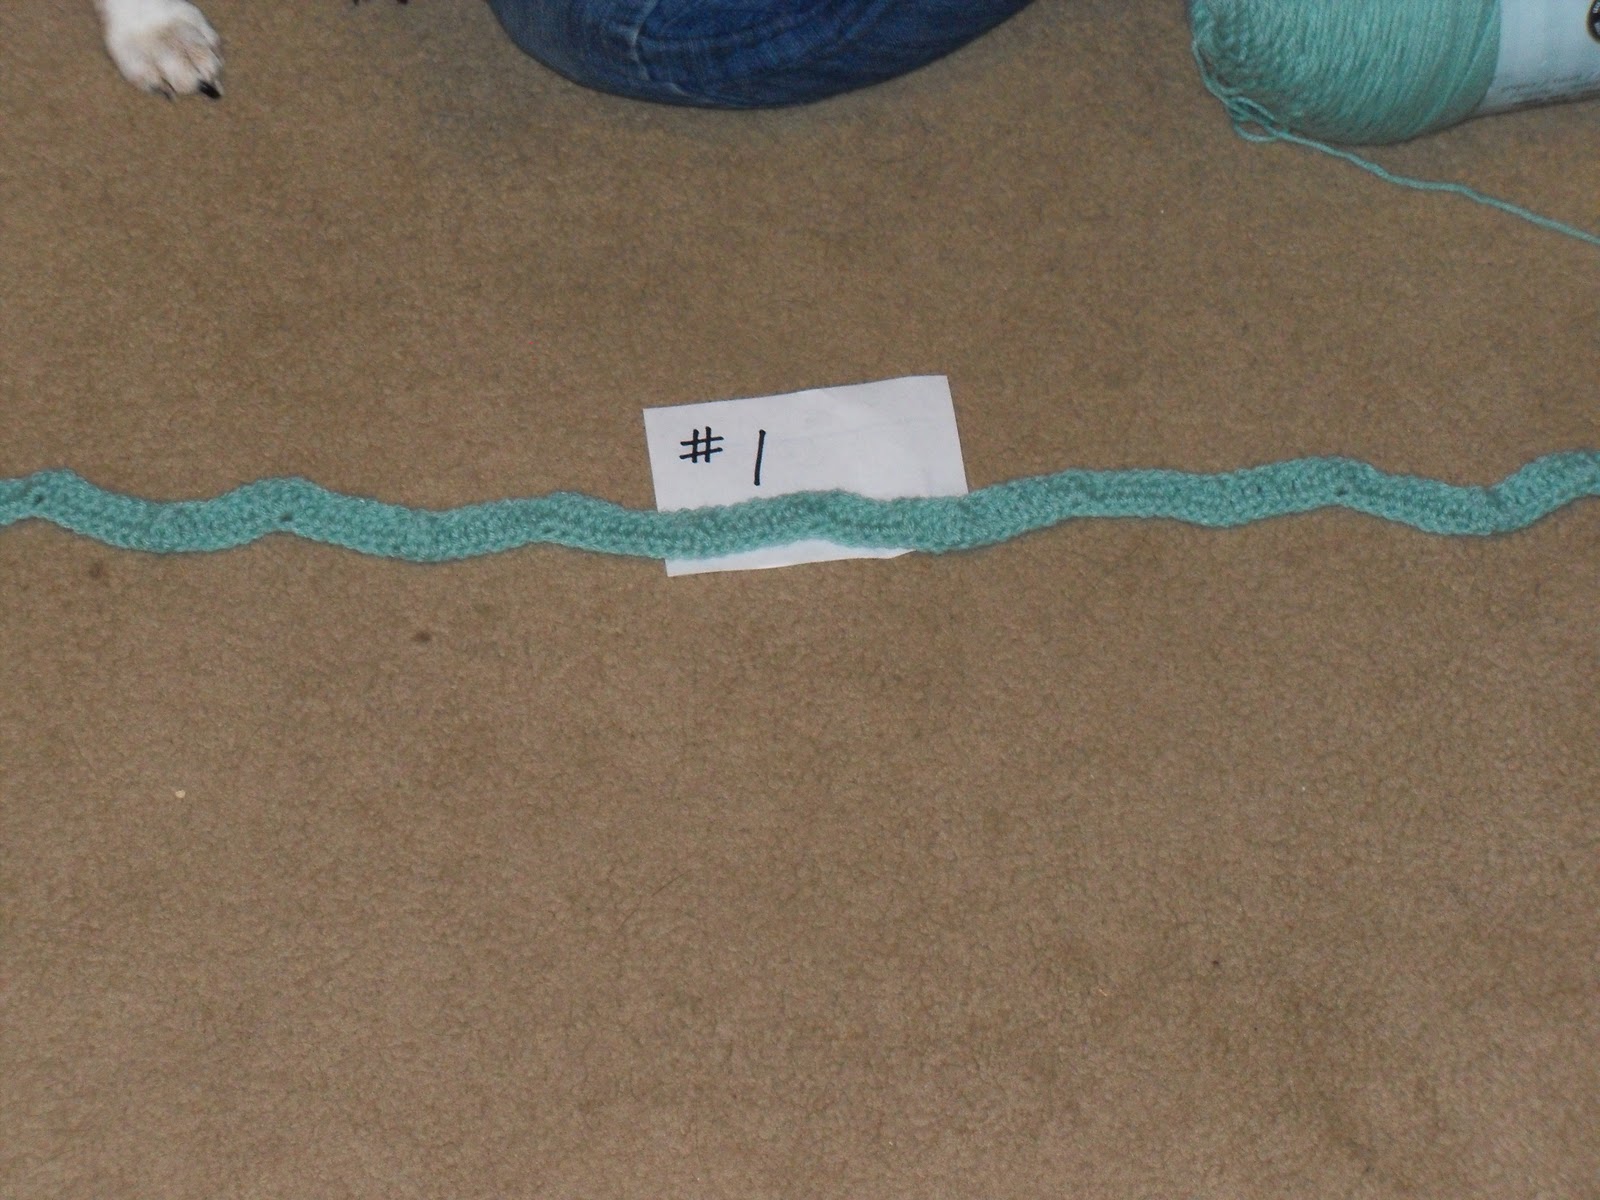
This is the start of the afghan, the first row.  It's a foundation chain with double stitches as the first row.  You can sort-of see the ripple pattern, which is caused by way the stitches are made.  Also visible in the top of the picture is part of my knee, and a beagle foot!


This is the same afghan, but now it's up to 24 rows.  The tails are still visible, I won't weave them back into the body until I'm through.  Which will be whenever I decide it's long enough, but won't be any time soon!

I'm really pleased with the way it's turning out.  I'll post updates on it again.

Fleece Scarf


(I didn't realize that the picture wasn't really clear when we took it.)

Anyway.  This is Otter's latest sewing project.  It's a fleece scarf.  She made it for BF's Christmas present.  It's about 58" long, she was aiming for 60 - 65" but the day we went to buy the fleece happened to be the day that the store had fleece on sale for 50% off, and the pickings were slim.  It's a nice chocolate brown color, about 5 - 6" wide.  I think it will be really warm.

Otter made the pattern up herself out of some thin posterboard we have, then she got busy with the sewing machine.  It took her a couple of hours, start to finish.  The end seam is hand sewn.