Saturday, October 17, 2015

Today is I Love Yarn Day!!!!!!!

One of my very favorite days, that's for sure.


There is so much that can be done with yarn.


My chosen art/addiction is crochet, which is probably no secret at all.


It doesn't matter if you crochet, knit, weave, or any of several other crafts that involve yarn, today is a good day and I encourage anyone who might be interested in yarn art to find a way to learn and see where it takes you!

Yarn is magic.

Friday, September 18, 2015

Yarn Bombing

The article gets one thing wrong, which is actually a major thing:  IT'S CROCHET.

Yarn Bombing Keeps You Young!

Tuesday, September 1, 2015

National Sewing Month (September)

September is National Sewing Month.  I'm not big on sewing, but I do occasionally sew.  I leave that to Froggy and Otter, and occasionally to Bill.  I am planning a lap quilt for Bill, but I'm looking for fabric that fits him.  I have a lot of patterned fabric, such as tools, chocolate chip cookies, many TEXAS related items and also bandaids - if you know him, you know why bandaids are appropriate for him.  I'm trying to find fabric that at least resembles pachinko/pinballs but that might be a wasted effort.


Sewing machines have changed a lot since this, but the basic principal is the same.


This was one of Otter's early sewing projects, she made a fleece scarf.


She also made the pants in the pirate costume she's wearing in this picture, after she'd had a little more experience sewing.  I think it was originally a pattern for pajamas but it worked for what she needed.


Bill made this quilt, it's the one we refer to as mine and we use it in the spring and summer.  His quilt is the camo pattern and we use it in the colder months.


This was also one of Otter's early sewing projects, zippered pouches.  She made this one for me to keep my crochet hooks in and that's what I use it for.


So, get busy sewing!  And have fun!!

Monday, June 29, 2015

Painted Wood Wooden Fabric Back Tray

I originally bought an unpainted wooden tray with the idea of turning it into a clock.  But I decided to go a different direction with the clock idea and I was left with the tray.  I've made this type of project before and I wanted another one.  It's easy.

Supplies needed:

Unpainted wooden tray, size and shape are up to you!  They can be purchased at just about any hobby store and aren't too expensive. 
Craft paint.  I use white or beige as a base coat, then 2 or 3 coats of the color I like.
Clear varnish
Modge Podge glue
Fabric for the inside back of the tray

The tray may need light sanding.  The next thing is to paint with the base coat, then let it dry completely.  Sometimes it might need more than one coat of the base, and I don't usually have to sand between coats.

I painted just on the inside of the inside tray back because I wanted to make sure that if the fabric wasn't quite big enough the base coat wouldn't show in the gap.


Measure the inside back of the tray for the fabric.  Measure carefully and probably more than once!  I used a thin poster board that is slightly heavier than a manila folder.


 You want to get the edges as straight as possible.  After it's cut, I usually put it in the tray to be sure it fits.


 The next step is to cut the fabric.  I found some really neat crochet-pattern material, the name is actually Crochet and I bought 3 yards of it.  No idea what else I'm going to use it for, but it's like yarn:  buy more than you need so you don't run out!  Also, I didn't wash it before use because I didn't want it to be too soft.  It needs to be crisp.  If you are using fabric that has been washed, it will need a good ironing.  I prefer to use 100% cotton.


Next step is to be sure the tray back is dry and dust-free.  Then you can apply the Modge-Podge.  You could probably use another type of glue, but this one works very good.  It dries fast and holds well.  But, because it does dry quickly you need to work fairly fast on this step.  I use a foam brush, it spreads the glue the best.  The brush is not really reusable after being used with glue, but if you use a regular brush it will need to be cleaned pretty quick.


After the glue is down, the fabric needs to be placed carefully.  It won't really slide if it needs to be moved, but you can grab it at the corners (tweezers work well for this) if it needs to be re ositioned.  I usually start at the "top" - the side furthest from me and work my way down.  Once the fabric is in place, you will need to (gently!) smooth any bumps or bubbles out because they will be permanent if you don't!  Not a heavy touch, but fairly firm.  I usually use my fingers for this but you can use a rubber scraper if you want to - just don't push too hard because the fabric may stretch out a bit.


The next step is to trim any edges, strings, etc. that don't fit or are sticking up too far on the sides.  I used a box cutter but I really should have used an x-acto knife because they are a lot sharper.  Be very careful, you don't want to cut yourself!  I did go find an x-acto knife after a while, but I should have started with one.  This needs to be done pretty soon after placing the fabric and you will also have to try hard not to stretch or move the fabric.  The corners and edges of the fabrics may need to be pushed down gently to be sure they stick.


This is the debris pile after I trimmed the edges.  Normally, things like this get put into my pile to put out for birds to use in the spring for nesting but these get thrown out because they have the glue on them.


The next step is to apply the varnish, I didn't get any pictures of it but it's basically just using a good-quality paint brush and the varnish of your choice.  It may take several coats.  Also, sometimes the fabric is not going to be smooth to the touch.  It depends on how much of the glue as been absorbed, as well as the texture of the tray itself.  But the fabric will need to be varnished as well.

The finished tray:


It's not food safe, but I use trays like this to hold condiments in the middle of my table.  It can be used as wall decor or to hold whatever you feel like.

Tuesday, March 17, 2015

March is International Quilt Month

(As I was reminded today!)

I do sew some and I have made a quilt, although it took me something like 18 years!  Actually, it took me closer to 13.  I have another one planned for Bill, but it's still in the planning stage because I'm looking for fabric that fits him.

Bill made the following quilts:


This one is bigger than our king size bed.  It's very lightly batted but it is very warm.  The top fabric is all official Army camo, it came from some uniforms that were surplus.  The backing is a forest-type pattern.


This one was made for his step-mom for Christmas a few years back, it's slightly larger than a lap quilt.


He made two that year, this one was made for his mom.


This is the one he made for me, it's not quite as big as the camo quilt but it is probably slightly larger than actual king size.  It's got a fuller, fluffier batting.  It's warm but not as warm as the camo quilt and we use it in the spring and summer.


This one is the 13 year quilt!  It's backed with solid blue fabric.  The top fabric is a combination of types of fabric, some of it is stuff that Otter liked and some of it means something specific.

Quilting is something that Froggy does, it's her specialty and she makes some really spectacular quilts.  It's her chosen art form, really it's her Gift.  But I discovered that I don't have any pictures of any quilts she's made, or I would post them here.

Monday, March 16, 2015

March is International Crochet Month

(Yes, I realize that March is halfway over!  It's just been somewhat chaotic around my house lately.)

These are a few examples of some of the things I've crocheted over the last few years.


Bath scrubby.


Lab blanket.  It was originally going to be a robe made out of squares but it decided that it wanted to be a blanket instead.

 Scarf.


Minion!  Everybody needs minions.


Tools of the trade.


Cap.


Watermelon pot holder.


Pillows.

What are you waiting for?  Get busy crocheting!

Monday, February 16, 2015

Yarn Bottle Jar Container Holder

I've seen plastic containers at fabric and craft stores that hold yarn.  They keep the yarn in place, clean and from getting tangled while working on something.  They are around $10.00.  I was looking at some one day when I remembered a plastic pickle jar that I'd kept after it was empty for a project that never happened.  Mostly, because I forgot about it!  So, I decided to make my own.  Hubby also found a plastic jar that originally held beef jerky so it got turned into one as well.

Plastic really works better for this than glass.  For one thing, it weighs much less than glass.  Also, glass breaks!  Most lids on glass bottles are metal, plastic bottles usually have plastic lids and that works better because they need a hole drilled in them.


Obviously, any jar you use will need to be clean!  I washed this one twice with warm, soapy water.  The label came off during the washing process and the adhesive was easy to remove while washing.  Some labels might need a little work to get them off; same thing for the adhesive.  Or you can leave the label on if you don't want to deal with removing it.


Hubby drilled the hold in the lid, 1/2" diameter and centered.  I measured the size of the hole in the lid of the bottles at the craft store and they were 1/2".  I don't think that it would work if it were any smaller and most yarn seems to be less than 1/2".

The edges of the hole need to be smoothed, He used a piece of fine grit sandpaper and a wooden dowel to get the edges smooth.


This is the beef jerky jar.  The label is still on it so it's turned to the side for the picture.  The yarn can be left in the skein if it came in one, or it can be rolled into balls.  Skein size varies as well as the yarn gauge itself.  This yarn happens to be mink yarn which is a pretty small gauge.  I put all three yarn balls in the jar to keep them from getting lost.


The yarn strand is inserted through the hole from the jar side.  


I also put the magazine with the pattern I'm using in the jar.  If it was a pattern on a single piece of paper or two, it can be folded and put in the bottle as well.  Also, you might want to put the hook you are using in the bottle as well so that it doesn't get lost either!

Yarn Wreath

I've seen yarn wreaths for a while and really liked them.  But, being crafty myself, I knew I'd rather make one than buy one already made.  That happens a lot!

Anyway, here's one of my latest craft projects:


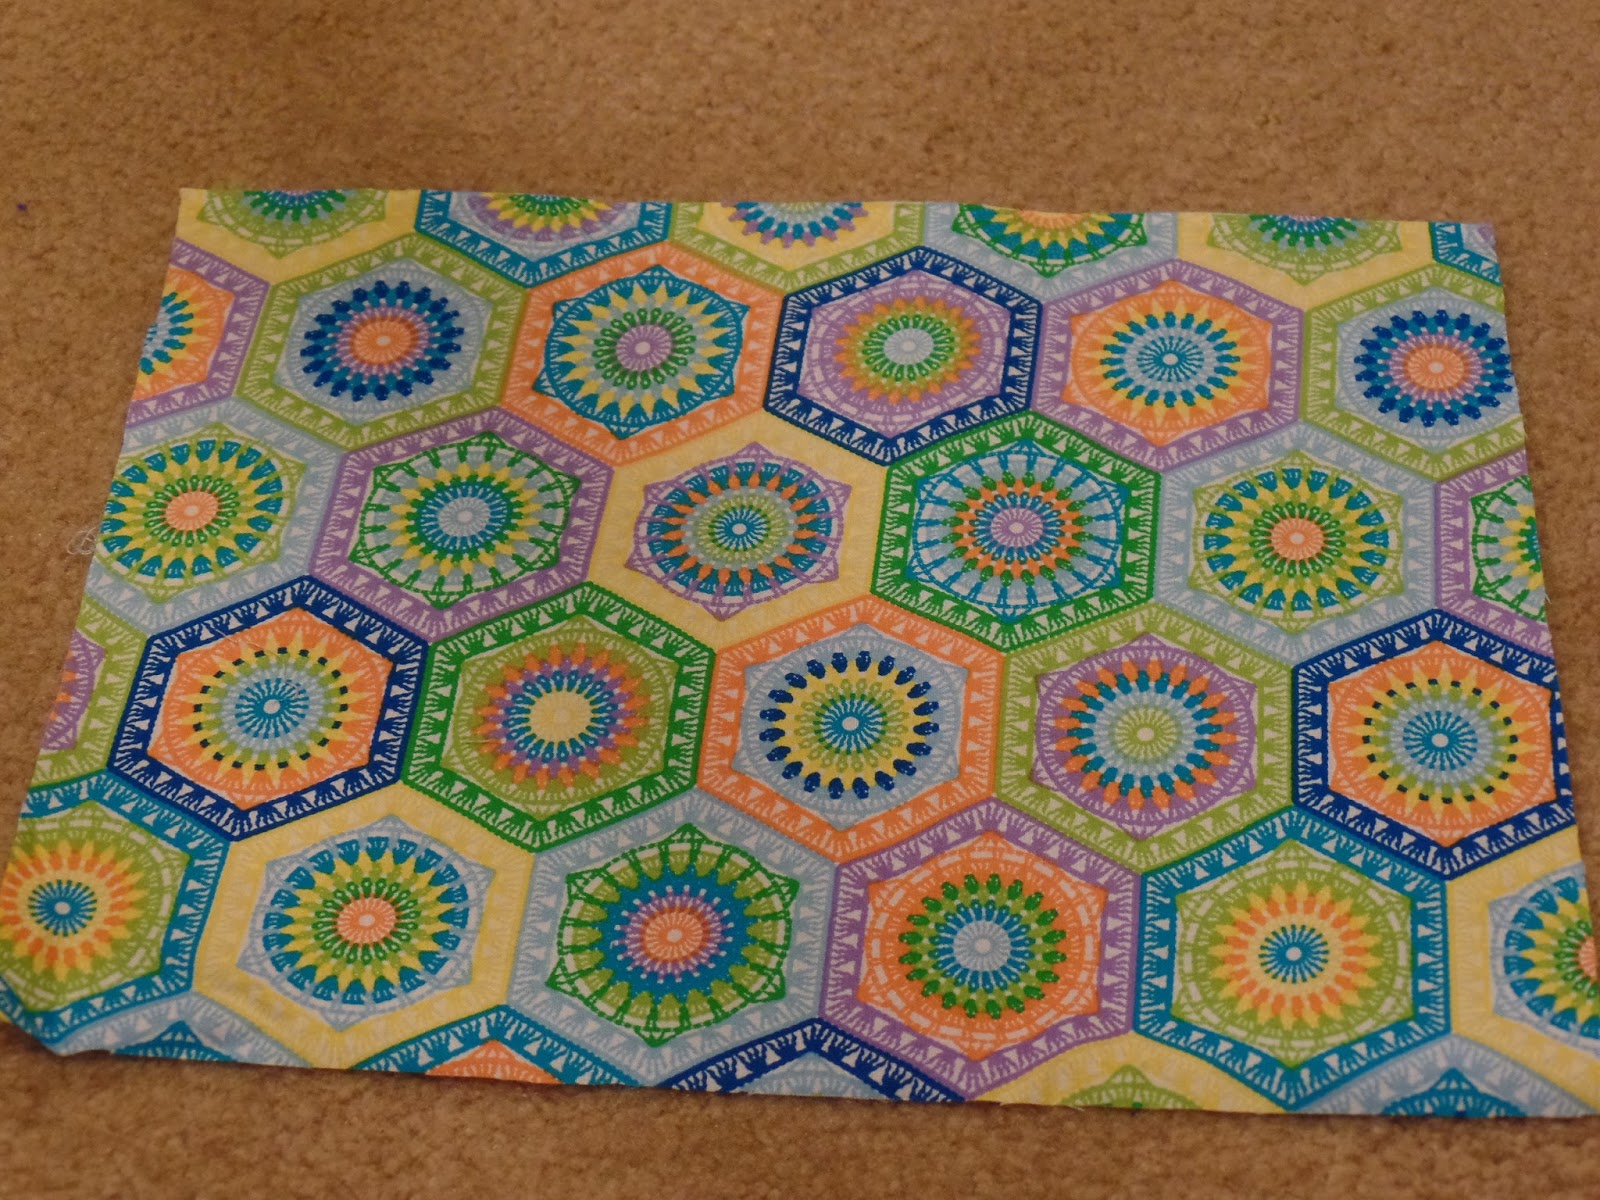
This is not the actual wreath form, I used a white styrofoam one but I didn't get a picture of it.  This one is for another project, but it's the same type.


I thought it would be easier to use these and wrap yarn around them than to make actual yarn balls.  Also, it would use less yarn and I could control the size of the yarn balls easier.  I didn't want them to all be the same size or color.


The yarn balls are easy to make, I wrapped the yarn around them and then I used a yarn needle to run the yarn end back into the ball or stuck the end underneath the wrapped yarn.


To wrap the wreath, I took a small piece of double-sided tape and attached it to the wreath form.  Then I started the yarn wrap on the tape which also kept the yarn in place.  When I decided that the yarn color was wide enough, I did the same thing with the tape and that also held the next color in place.  I made the yarn sections different sizes.  The final section was a little bit trickier, when the yarn was fully wrapped I gently pushed the strands aside enough to stick the yarn to the original piece of tape.  During the wrapping process, I stopped frequently and pushed the wrapped sections together as it was hard to keep the yarn close enough so that none of the wreath showed through.  It had to be held fairly tightly during the wrapping process.  The particular yarn I used on the wreath is rug yarn and it is rougher to the touch than regular yarn.  You could use regular yarn, I just had some rug yarn on hand that I wasn't going to use to crochet with so I used it.


Because my wreath was intended to be a Crochet theme, I found a couple of plastic hooks that I wasn't going to use.


I used the glue gun to attach the pieces to the wreath.  It seems to last better than other types of glue for this type of project.  Also, hot glue doesn't have an odor.


I glued each yarn ball on, I used quite a bit of hot glue, I also held the wreath up during this process and held each yarn ball on until the glue was dry and cool.  For things like this, things need to be held on with some force until the glue dries/cools or they will not stay on.  After the glue was cool, some of them needed a little more glue to hold them in place.


I added extra glue from the back of the wreath.  Also visible is one of the yarn ends and it may be the final section judging by the way the yarn looks.


When I had a few balls in place, I put more glue in between two of them and inserted the crochet hooks.  Hot glue does cool quickly, but I had enough time to put the hooks in place and get them where I wanted them.  They also had to be held in place until the glue cooled enough to hold them.  If you use something like crochet hooks, make sure you insert the plain end and that the hook end is on the top!

After the hooks were in place and I was confident that they would stay, I glued the rest of the yarn balls on.


The completed wreath!

It's on the door to my craft room, I put two nails in the door near the top but slightly on each side of center to hold it in place evenly because the weight of the attached items kept shifting it.

It turned out well and I can see a lot of other ways to make wreaths with yarn or ribbon, and any individual items you like can be used to personalize it.

Working with glue or any type of paint or liquid, I always work on a covered surface.  The desk I use for my crafting is a regular desk and it's covered with plastic.  I bought a plastic table cloth at the dollar store and cut it in half.  It works great for what I need and it can be replaced fairly easily and cheaply.

Also, when using hot glue - keep in mind that it is named HOT for a reason!