
I originally bought an unpainted wooden tray with the idea of turning it into a clock. But I decided to go a different direction with the clock idea and I was left with the tray. I've made this type of project before and I wanted another one. It's easy.
Supplies needed:
Unpainted wooden tray, size and shape are up to you! They can be purchased at just about any hobby store and aren't too expensive.
Craft paint. I use white or beige as a base coat, then 2 or 3 coats of the color I like.
Clear varnish
Modge Podge glue
Fabric for the inside back of the tray
The tray may need light sanding. The next thing is to paint with the base coat, then let it dry completely. Sometimes it might need more than one coat of the base, and I don't usually have to sand between coats.
I painted just on the inside of the inside tray back because I wanted to make sure that if the fabric wasn't quite big enough the base coat wouldn't show in the gap.

Measure the inside back of the tray for the fabric. Measure carefully and probably more than once! I used a thin poster board that is slightly heavier than a manila folder.

You want to get the edges as straight as possible. After it's cut, I usually put it in the tray to be sure it fits.

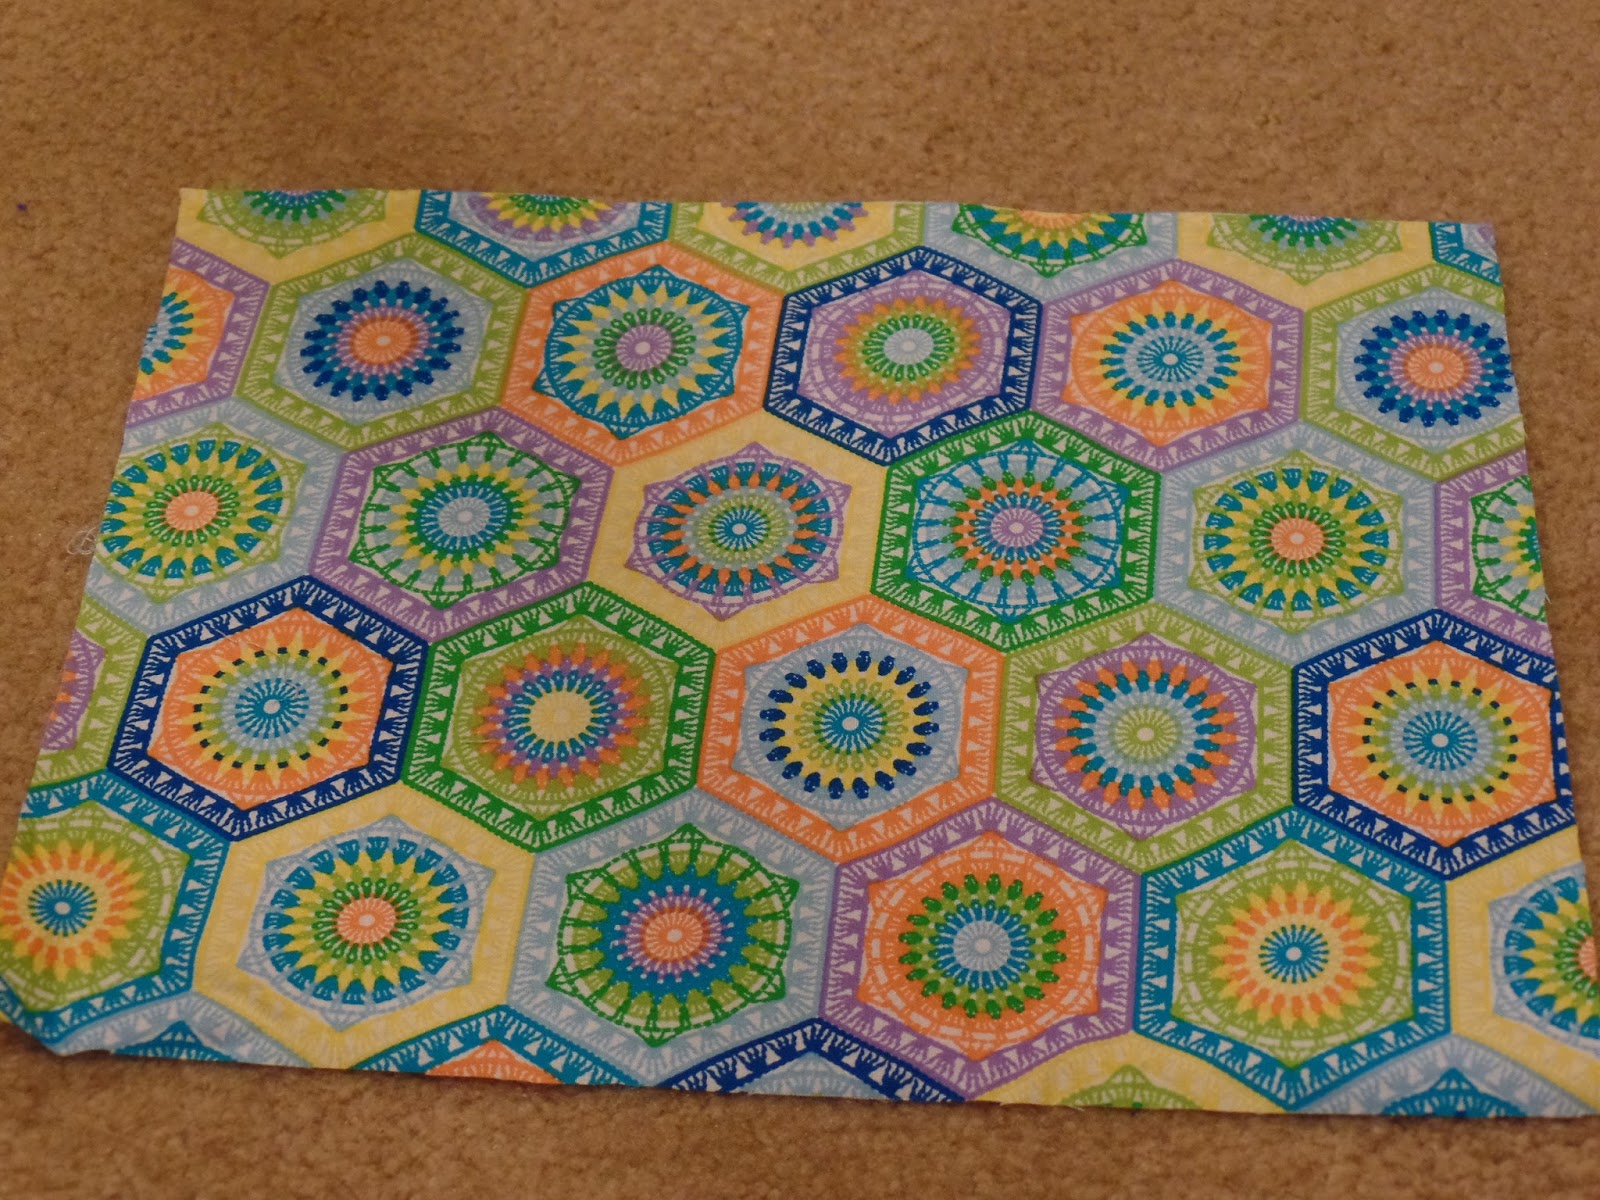
The next step is to cut the fabric. I found some really neat crochet-pattern material, the name is actually Crochet and I bought 3 yards of it. No idea what else I'm going to use it for, but it's like yarn: buy more than you need so you don't run out! Also, I didn't wash it before use because I didn't want it to be too soft. It needs to be crisp. If you are using fabric that has been washed, it will need a good ironing. I prefer to use 100% cotton.
Next step is to be sure the tray back is dry and dust-free. Then you can apply the Modge-Podge. You could probably use another type of glue, but this one works very good. It dries fast and holds well. But, because it does dry quickly you need to work fairly fast on this step. I use a foam brush, it spreads the glue the best. The brush is not really reusable after being used with glue, but if you use a regular brush it will need to be cleaned pretty quick.

After the glue is down, the fabric needs to be placed carefully. It won't really slide if it needs to be moved, but you can grab it at the corners (tweezers work well for this) if it needs to be re ositioned. I usually start at the "top" - the side furthest from me and work my way down. Once the fabric is in place, you will need to (gently!) smooth any bumps or bubbles out because they will be permanent if you don't! Not a heavy touch, but fairly firm. I usually use my fingers for this but you can use a rubber scraper if you want to - just don't push too hard because the fabric may stretch out a bit.

The next step is to trim any edges, strings, etc. that don't fit or are sticking up too far on the sides. I used a box cutter but I really should have used an x-acto knife because they are a lot sharper. Be very careful, you don't want to cut yourself! I did go find an x-acto knife after a while, but I should have started with one. This needs to be done pretty soon after placing the fabric and you will also have to try hard not to stretch or move the fabric. The corners and edges of the fabrics may need to be pushed down gently to be sure they stick.

This is the debris pile after I trimmed the edges. Normally, things like this get put into my pile to put out for birds to use in the spring for nesting but these get thrown out because they have the glue on them.

The next step is to apply the varnish, I didn't get any pictures of it but it's basically just using a good-quality paint brush and the varnish of your choice. It may take several coats. Also, sometimes the fabric is not going to be smooth to the touch. It depends on how much of the glue as been absorbed, as well as the texture of the tray itself. But the fabric will need to be varnished as well.
The finished tray:

It's not food safe, but I use trays like this to hold condiments in the middle of my table. It can be used as wall decor or to hold whatever you feel like.
